I. Setup Multiple Languages
1. Download Magento Language Packages
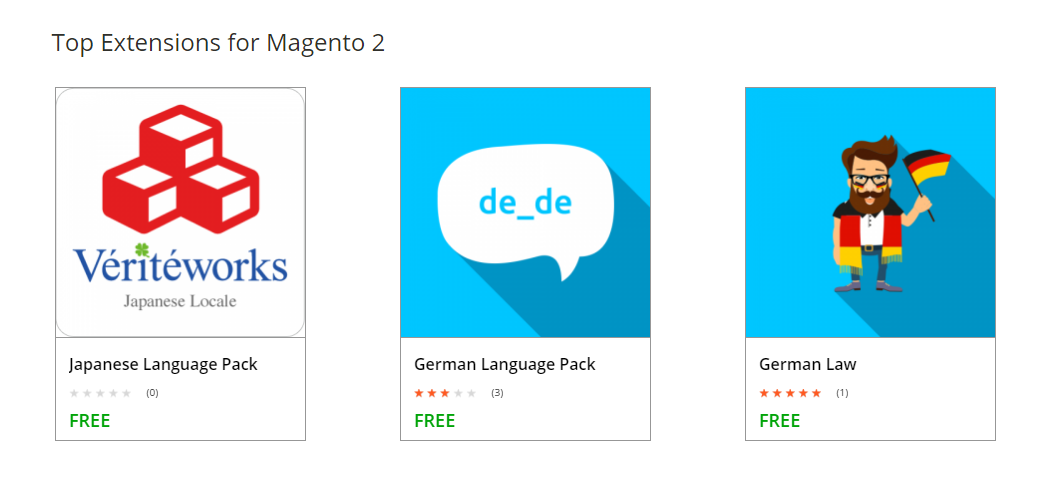
First, visit the Magento marketplace. You can find there a variety of packages allowing you to display the Store Views in respectively languages. Select your desired language package and then download it e.g. German (German) package.
Next, you now get a .gzip file. Unpack it to access the folder app. Also, you can upload the folders design and locale, these folders will not overwrite any key data at all. Once done, follow the next step to create a new Store View and assign this language package to it.
2. Create A New Store View
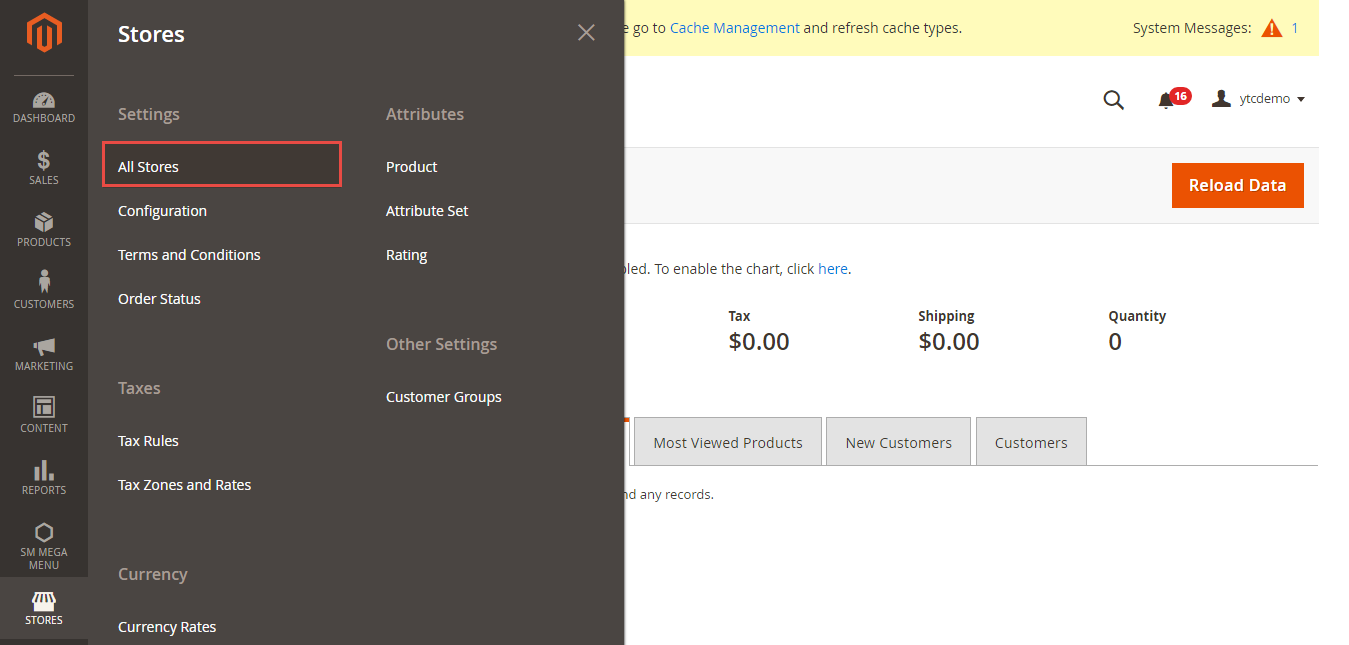
1. In your Admin Panel, navigate through Stores >> Settings >> All Stores
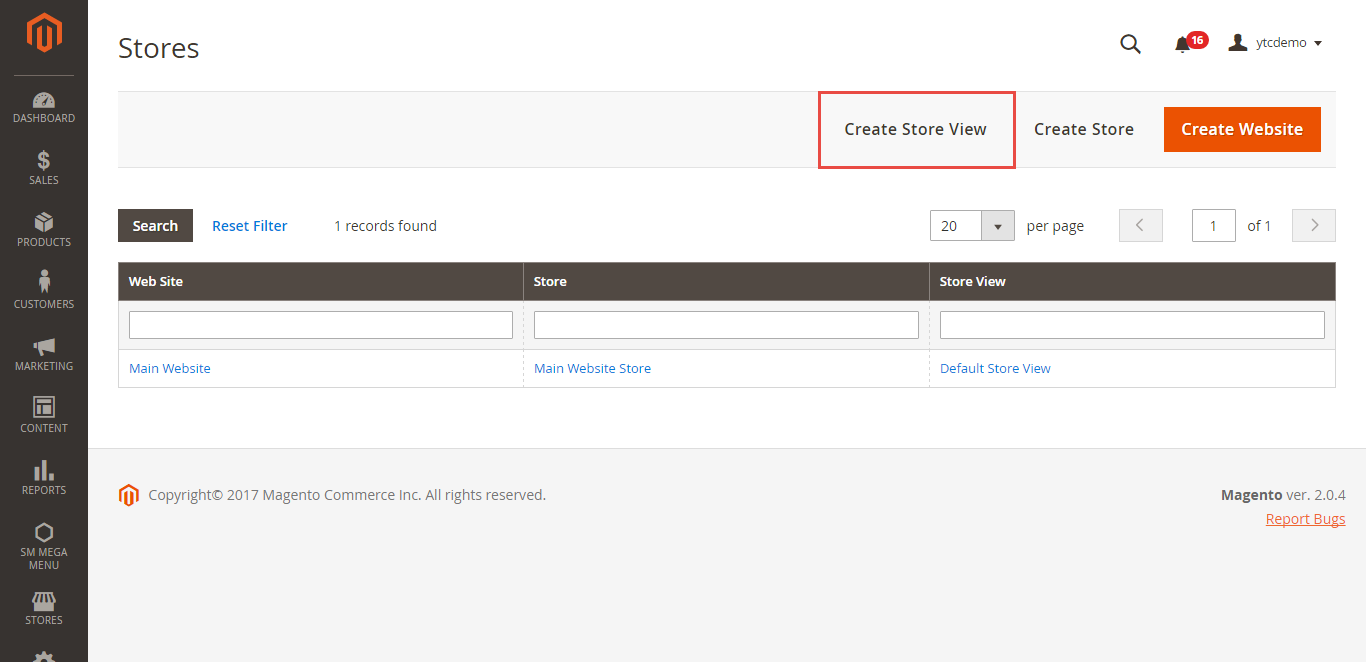
2. In All Stores section, click on the button Create Store View.
3. In New Store View section, input parameters as follows.
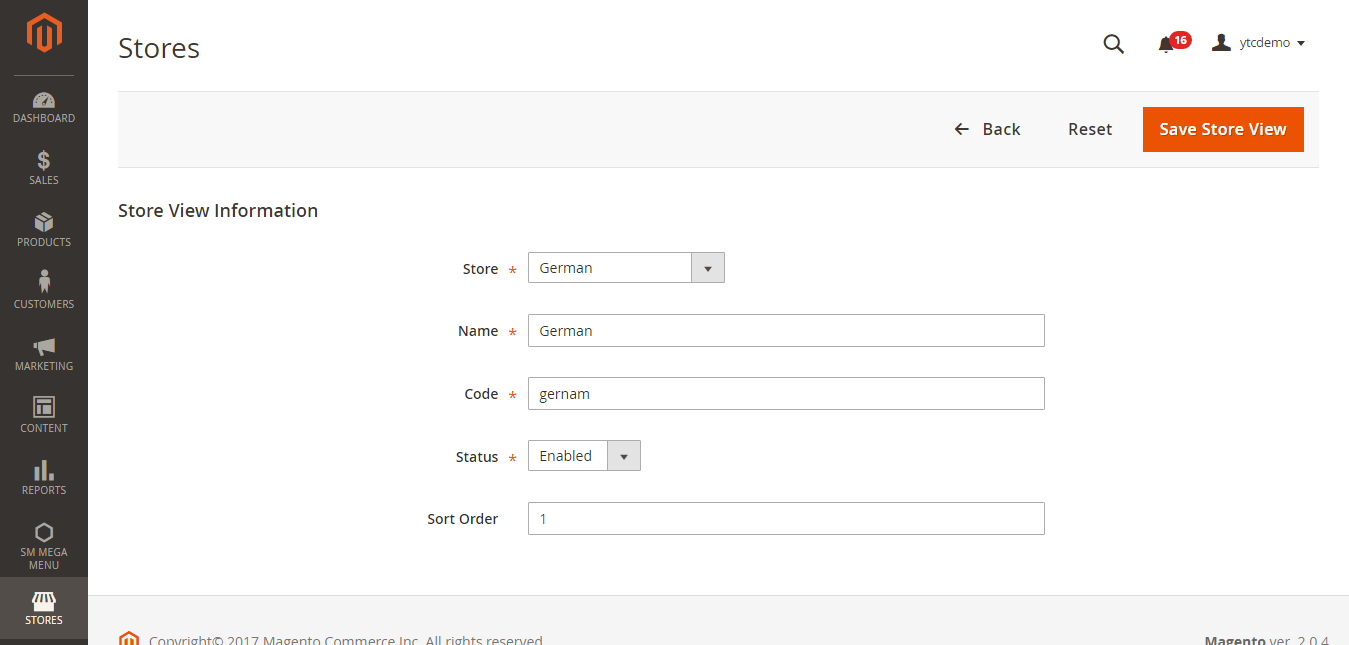
- Store: Select the Store that is the parent of the view.
- Name: Fill in Name for store view e.g. German.
- Code: Enter a Code in lowercase characters to identify the view e.g german.
- Status: To active Store View in front-end, choose Status to "Enable".
- Sort order: Define order in the Store View list for this store view.
Once you're done, please click Save Store View button.
3. Set Locale Option of Store View
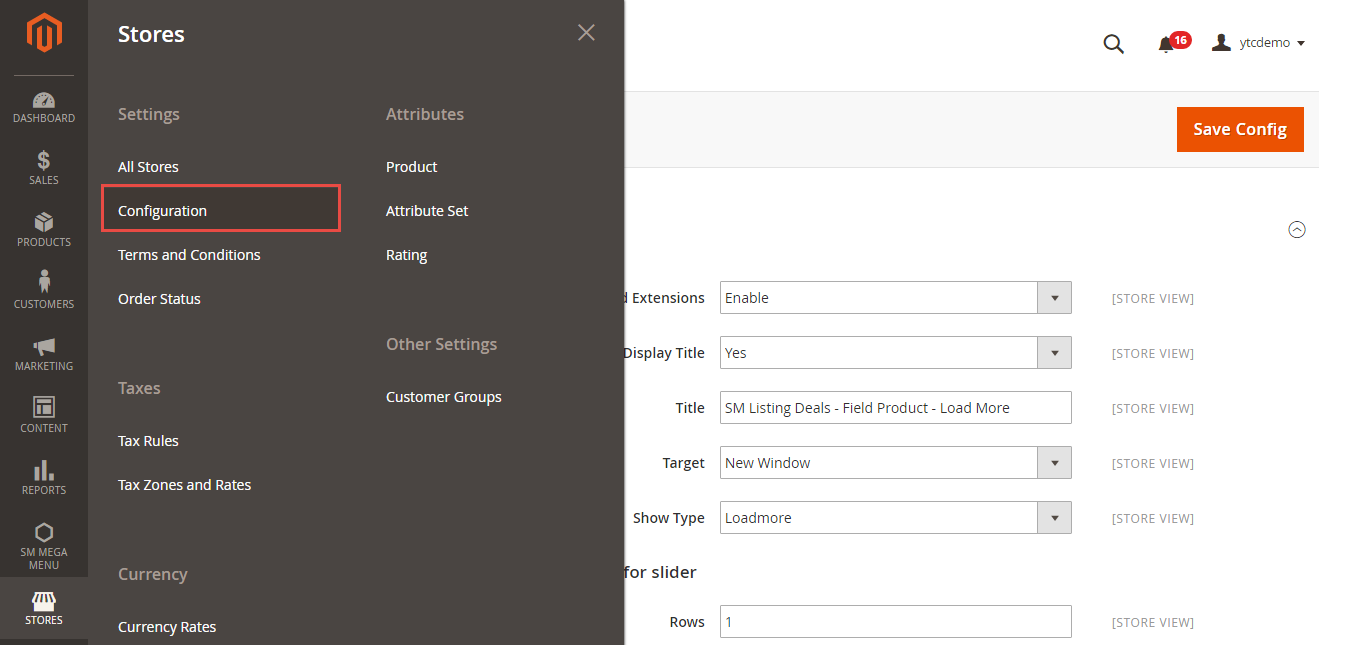
1. Navigate through STORES >> Settings >> Configuration.
2. On the top-left, in the box to view and manage the Store view, select “German” Store view. Go to General section, open Locale Options tab. Select the Locale as “German”.
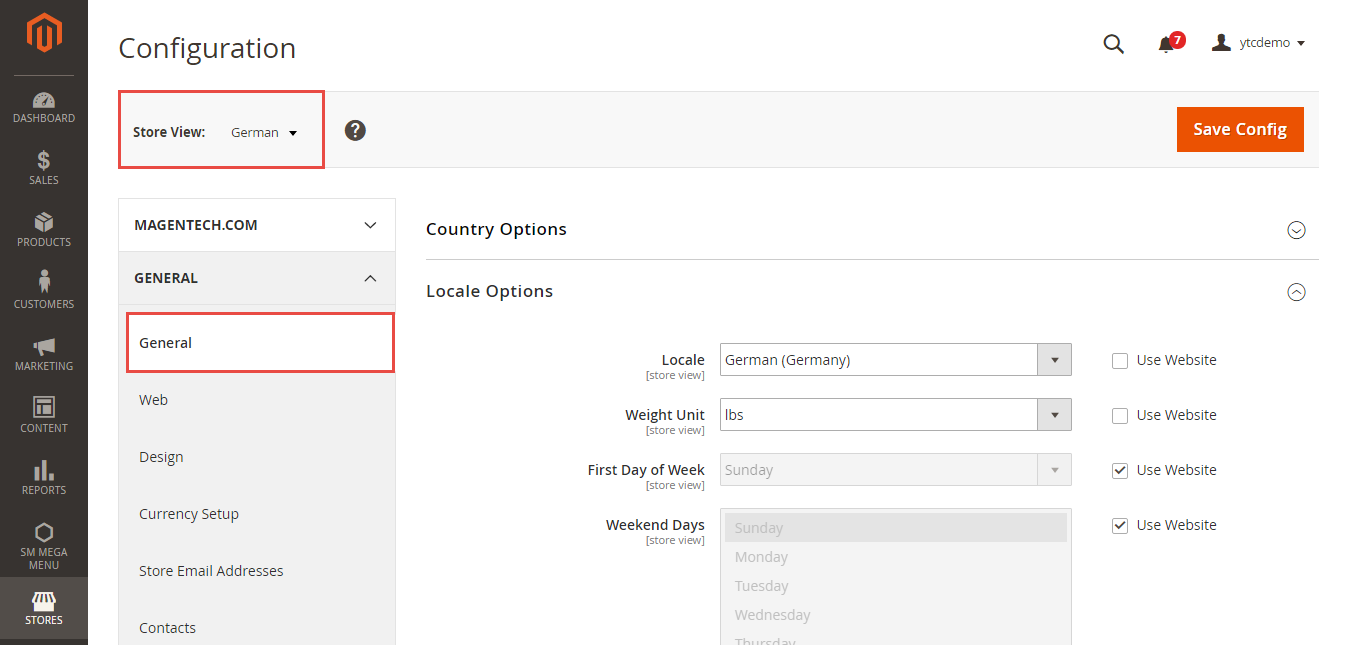
3. Click Save Config button.
After you change the language of the locale, the remaining content that you have created, including product names, descriptions, and categories must be translated separately for each store view.
4. Define Flag Icon
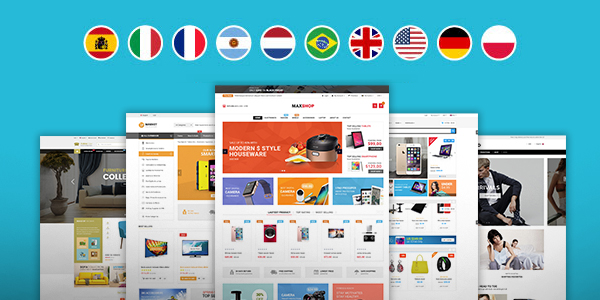
On the front-end, each flag icon will represent a language option. To add a new flag icon for MagenTech's Magento 2 Themes or any other Magento 2 themes, please following these steps below:
1. Prepare flag icon file which has the same name with your desired language e.g. If your store is German, let put the flag icon file is flag_german.png.
![]()
2. Copy this file and paste it into the folder at {your theme}app\design\frontend\Sm\{theme}\web\images\flags.
II. Translating Products for Magento 2 Store View
1. Translate Product Fields
If your store has the same product information like SKU, price, content in stores with different languages, you just have to change the product name, description fields, and meta data for each language. To translate products, we follow these steps as below:
1. Translate Product Fields: In your Admin Panel, navigate through PRODUCTS >> Inventory >> Catalog. Find the product to be translated, and open in edit mode.
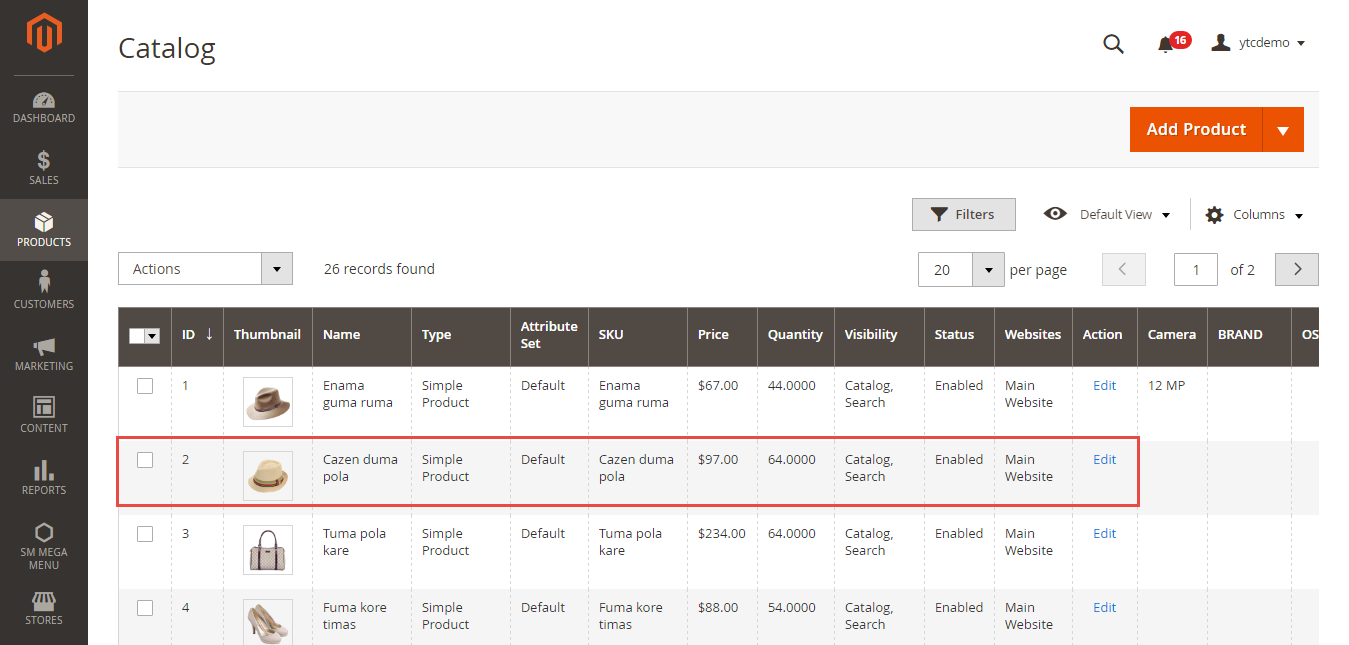
2. In the top-left corner select your desired Store View for the translation. For each field to be edited, do the following:
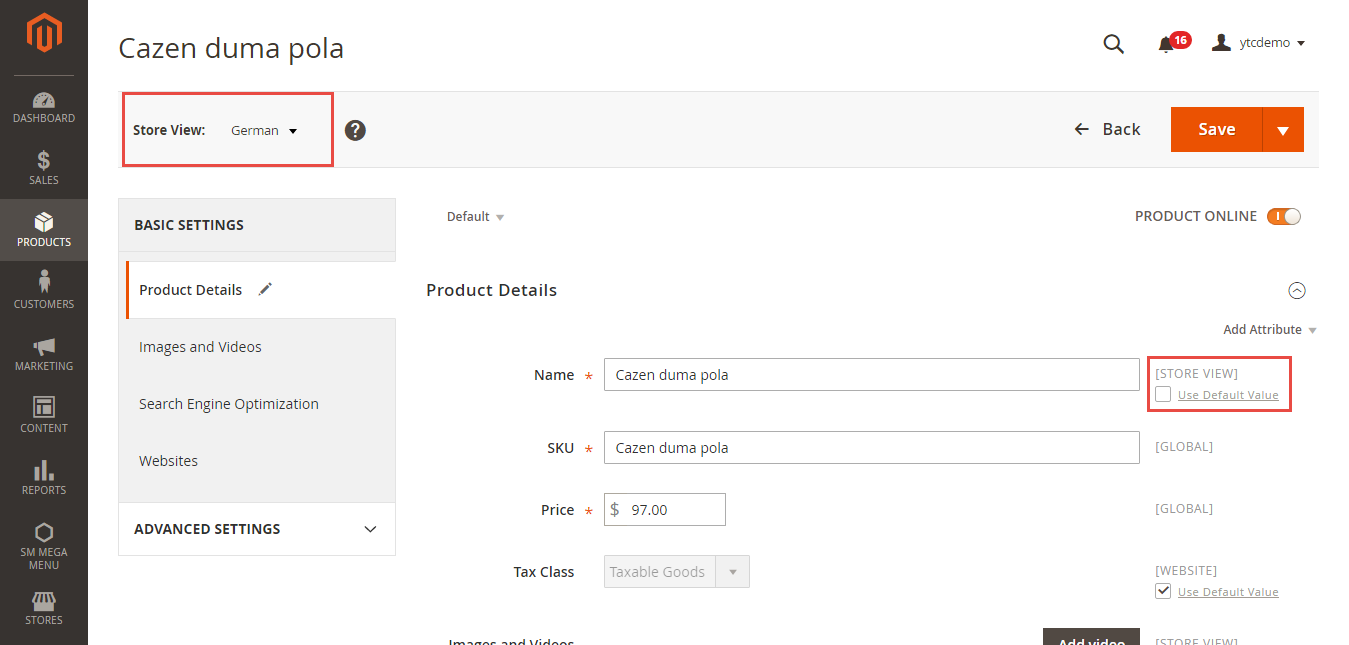
- Remove the Use Default Value checkbox to the right of the field.
- Type the translated text into the field. Make sure to translate all text fields, including image labels and Alt text, Search Engine Optimization fields and any Custom Options information.
Once done, don't forget to click Save button
2. Translate Field Labels
1. On the Admin sidebar, tap Stores. Then under Attributes, choose Product
2. In the list, find the attribute to be translated, and open in edit mode.
3. In the panel on the left, choose Manage Labels.
4. In the Manage Titles section, enter a translated label for each store view.
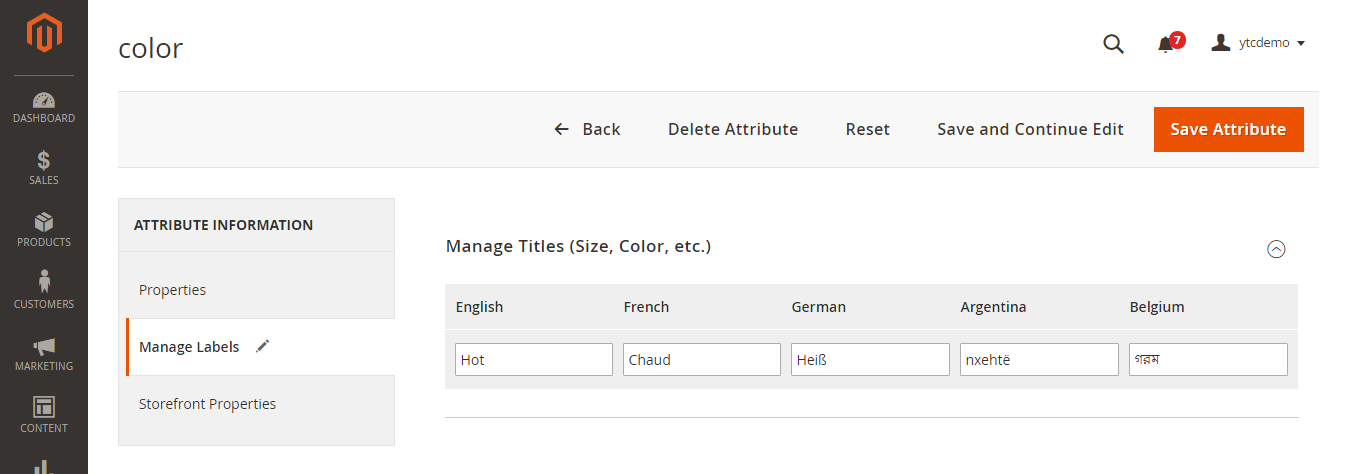
5. When complete, click Save Attribute
3. Translate All Categories
1. On the Admin sidebar, navigate to PRODUCTS >> Categories.
2. In the upper-left corner set Store View to the view for the translation. Then find the category to be translated and open in edit mode.
3. Translate the following fields:
- Name
- Description
- Page Title
- Meta Keywords
- Meta Description

4. When complete, tap Save Category and repeat the process for all categories used in the store.
III. Setup Multiple Currencies
1. Setup Multiple Currencies
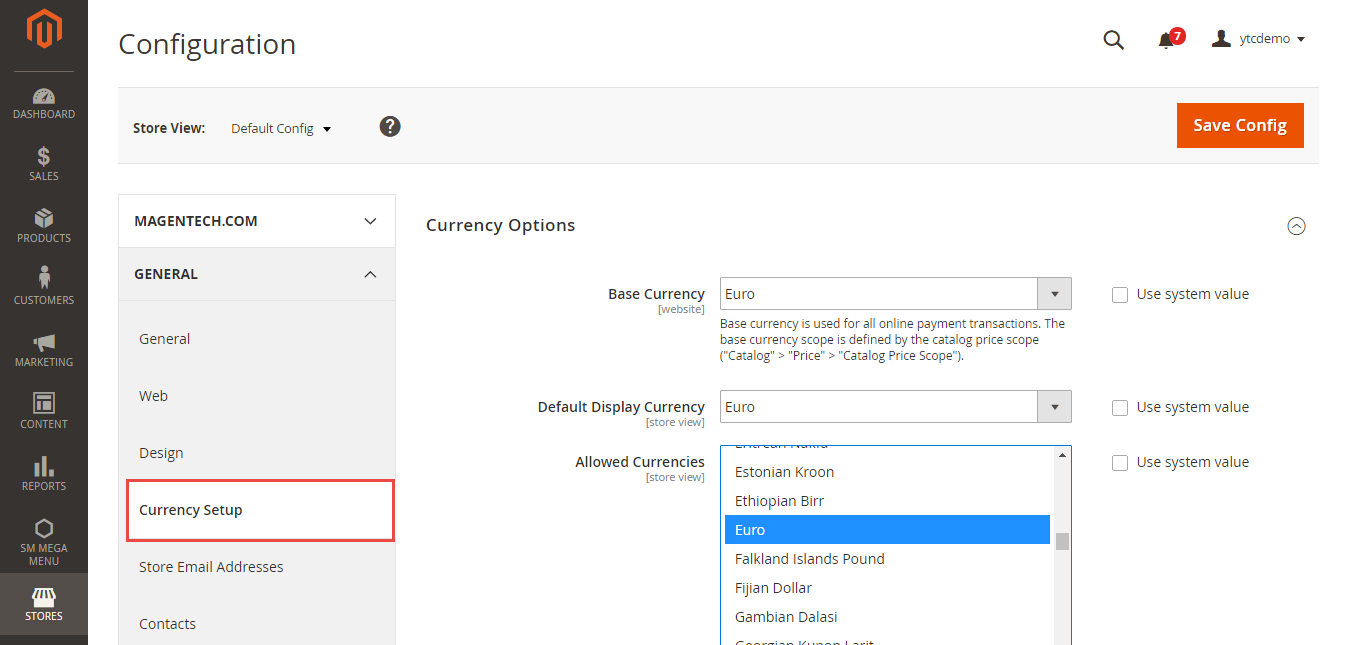
1. Navigate through STORES >> Settings >> Configuration.
2. In the General Tab >> Click on Currency Setup.
3. Select your default currency e.g. EUR.
4. Select the currencies options you want to show e.g. FJD, FKP, etc.
5. Save your configuration
2. Setup Currency Exchange Rates
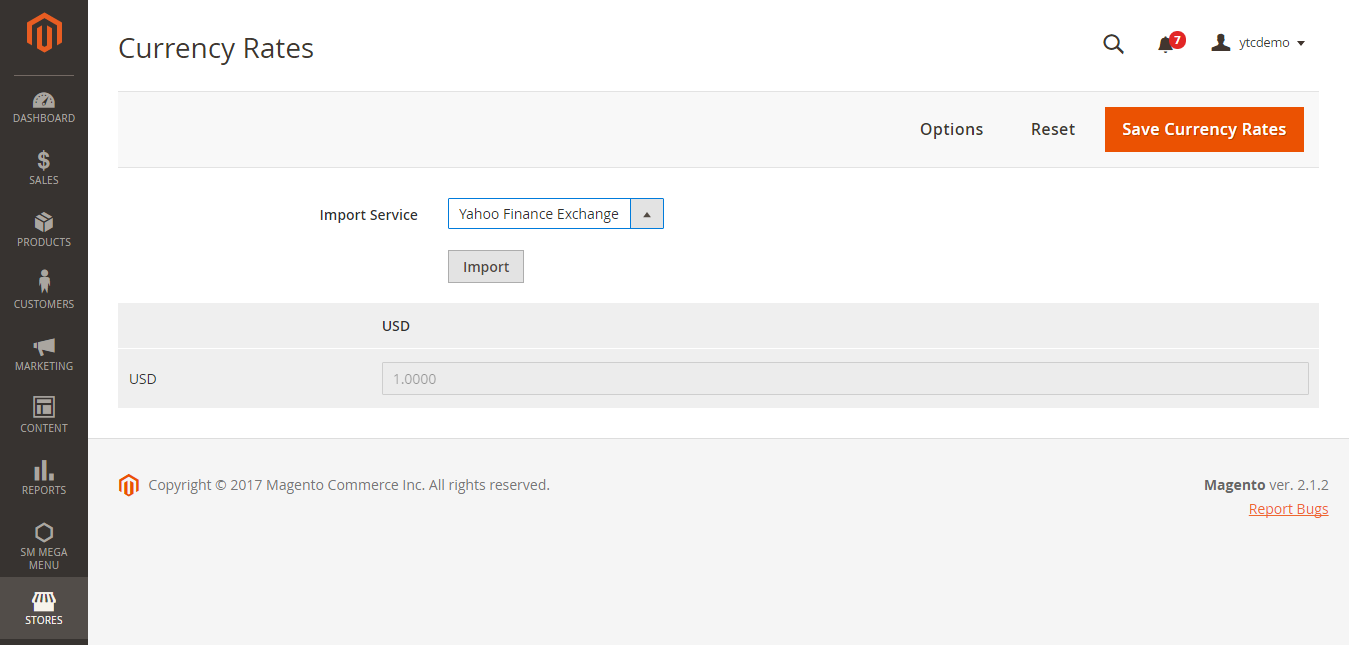
1. Navigate through STORES >> Currency >> Currency Rates.
2. Click on Import to import the desired currency rates.
3. Click to save.
If you have any questions or need further assistances to set-up Magento 2 multiple languages and currencies, please don't hesitate to let us know via the comments box below. We'd love to help!
